Metal siding is a popular choice for homeowners and builders due to its durability, low maintenance, and aesthetic appeal. With the proper setup and installation, metal siding can provide a sturdy and weather-resistant exterior for your home or building, especially when paired with systems like install exhaust vents in a metal roof. In this step-by-step guide, we will walk you through the process of installing metal siding over plywood, ensuring a successful and professional-looking installation.
Step 1: Gather the necessary tools and materials
Before starting the installation, gather all the tools and materials you’ll need. This includes metal siding panels, galvanized nails or screws, a drill or nail gun, a level, tape measure, tin snips, a chalk line, and safety equipment such as gloves and safety glasses.
Step 2: Prepare the plywood surface
Ensure that the plywood surface is clean, dry, and free from any debris, similar to preparation steps used when working with metal siding over stucco. Repair or replace any damaged or rotted plywood before proceeding. Use a primer or weather-resistant sealant to treat the plywood surface, providing an additional layer of protection against moisture.
Step 3: Measure and mark the wall
Using a tape measure, determine the height and width of the wall area where you will install the metal siding. Mark these measurements on the plywood using a pencil. Establish a level reference line at the bottom of the wall to ensure that your panels will be installed straight and evenly throughout.
Step 4: Install the starter strip
Attach a starter strip at the bottom of the wall, using galvanized nails or screws. Ensure the strip is level before driving the first screw. The starter strip provides a secure base for the first row of metal siding panels.
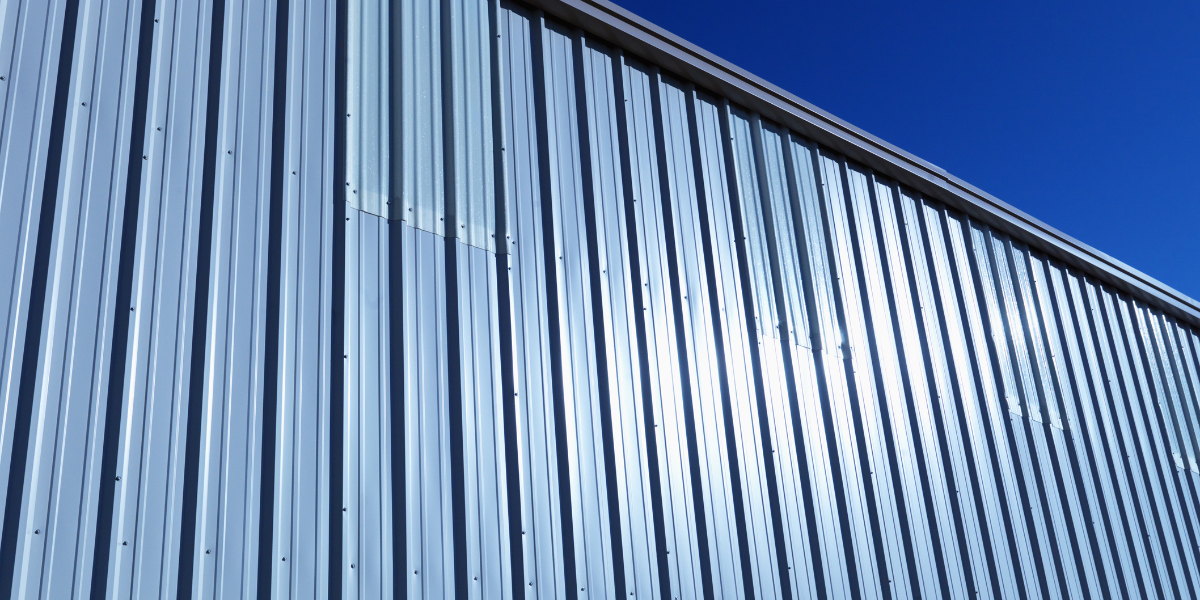
Step 5: Cut the metal siding panels
Measure the length of the wall from the starter strip to the top, accounting for any necessary overlaps or allowances. Use tin snips to cut the metal siding panels to the appropriate length, a technique also used in corrugated metal fence for custom fitting panels. Remember to wear safety gloves and glasses during this step to protect yourself from sharp edges.
Step 6: Attach the metal siding panels
Starting from the bottom, align the first metal siding panel with the starter strip. Use a drill or nail gun to secure the panel to the plywood, placing nails or screws through the pre-drilled holes or nail flanges. Ensure the panel is level by using a level. Repeat this process for each subsequent panel, overlapping each one by the recommended amount according to the manufacturer’s instructions.
Step 7: Cut openings for windows and doors
When you encounter windows, doors, or other openings, measure and mark the dimensions of the opening on the metal siding panel. Use tin snips to carefully cut out the opening, following the marked lines. Trim any sharp edges with a file to ensure safety and a clean finish.
Step 8: Install trim and accessories
To complete the installation, add trim pieces and accessories such as corner caps and J-channels. These elements provide a polished appearance and help protect the edges of the metal siding. Attach them securely using nails or screws, following the manufacturer’s instructions.
In closing
Installing metal siding directly over plywood can enhance the durability and aesthetic appeal of your home or building. By following these step-by-step instructions, you can achieve a professional-looking installation. With careful execution, you’ll have a weather-resistant and aesthetically pleasing metal siding that will stand the test of time.