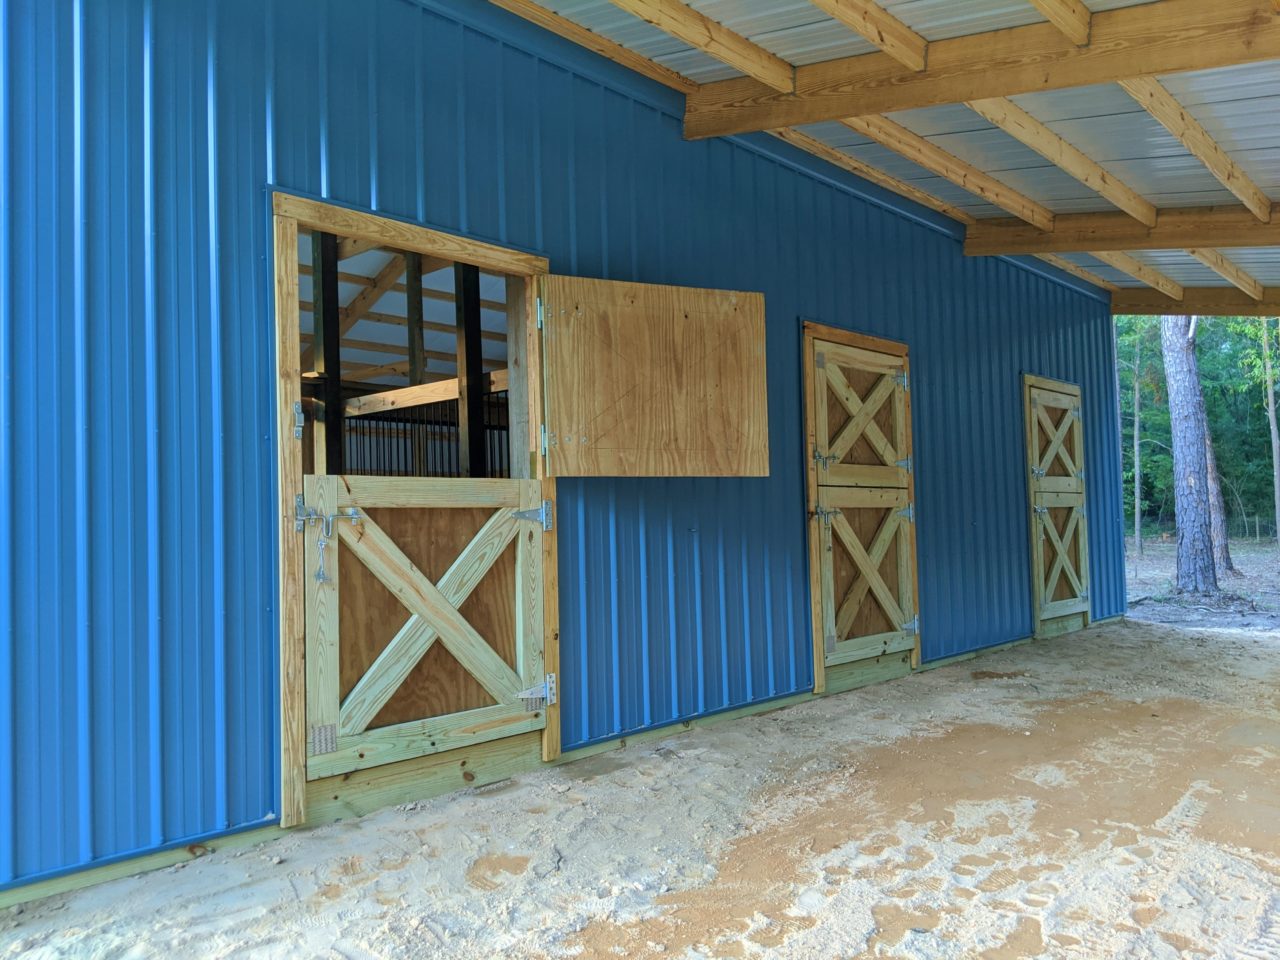
Metal siding is increasingly becoming one of the most popular choices for homeowners, and of course, the people who build homes, who are looking to make additions to the home that add durability, efficiency, and aesthetic appeal to the properties they own and work on. Known for its resilience against the elements, low maintenance requirements, and variety in colors and styles, It is fair to say that metal siding is pretty much unmatched when it comes to providing the perfect blend of functionality and design flexibility that builders and homeowners alike are looking for right now.
All of that being said, it is also fair to say that it can be challenging to work with even for someone who has a lot of experience in DIY or contracting, and this is particularly true when it comes to trimming metal siding around a door or window.
Doing so is a process that really does require a lot of precision, but also a lot of patience too. Not only that, but to successfully trim metal siding around a door, you will also need a thorough understanding of the materials and tools involved. The good news is, we hope the guide we have put together here will demystify this task, providing step-by-step instructions and tips to ensure a smooth, professional finish. Whether you’re a seasoned contractor or a knowledgeable DIYer, you’ll be sure to find lots of valuable insights into tackling this critical aspect of metal siding installation if you read on.
Section 1: Understanding the Basics
Before we get into the whole how to trim metal siding around a door thing, it’s a good idea to first ensure that we are all up to speed with the basics…
Importance of Precision
Accuracy is paramount when it comes to trimming metal siding – there are no two ways about that. A misaligned cut can not only detract from the overall appearance of the project but also compromise the structural integrity of the installation which is something that you definitely do not want to happen, right?
So, it goes without saying that precise measurements and cuts ensure that the door fits snugly within its frame, preventing issues such as water leakage and air infiltration are what you need to be aiming for when carrying out this particular project. So, therefore, taking the time to measure twice and cut once is not just a precaution; it’s a necessity for achieving a professional finish.
Choosing the Right Materials
It’s also, of course, really very important that you take the time to choose the right materials for the job at hand. Good can significantly impact the durability and appearance of your metal siding project, so opting for high-quality metal siding and trim materials really is something you should be aiming to do.
The materials you choose should not only complement the aesthetic of your property but also withstand harsh weather conditions and wear over time. Not only that, but selecting the right type of metal can make the cutting and installation process more manageable, thus ensuring that the finished product meets your expectations in terms of both function and design.
Section 2: Necessary Tools and Safety Gear
It is fair to say that starting a metal siding project when you do not have the proper tools and safety equipment necessary for the hob is a disaster waiting to happen. So, let’s take a look at what you need to trim metal siding around a door the right way.
Essential Tools for the Job
The right tools really do make all the difference in trimming metal siding as efficiently and accurately as possible. Probably, the most important of these are tin snips for cutting, a pry bar for gently lifting siding panels, a measuring tape for precise measurements, and a marker for clear marking. Depending on the exact nature of the project, and how complex it is likely to be, additional tools like power shears or a nibbler might be needed to ensure you make those tough cuts, not only correctly, but also as safety as possible too.
Safety First
Working with metal siding presents a few unique challenges, mainly due to the sharp edges that are created when you cut into it. So, it should go without saying that protective gear is not optional when it comes to working with this particular material, right?
Leather gloves to shield your hands, safety glasses to protect your eyes from metal shards, and long-sleeved shirts and pants to prevent cuts and scrapes on your skin are the minimum you are going to want to have around to keep you safe. This won’t just stop accidents from happening, but it will also make the whole process of trimming that metal siding go much more smoothly too.
When you’re prepared for the job, the job will always work out right.
Section 3: Preparing the Area
Once you have gathered everything you need together and gotten a decent grasp of the basics that will make the job go smoothly, it is time to prepare the area where you will be applying the siding. This phase is something you will seriously regret if you try to skip it or cut corners because it really is crucial for ensuring that the cutting process goes smoothly and results in precise, clean lines around your door, and that is what you are aiming for, right?
Measuring and Marking
The first thing you will need to do in the prep stage is to measure the dimensions of the door opening accurately. Using a measuring tape, determine the height and width required for the door, making very sure that you include any additional clearance for the frame that might be required, as well as any potential expansion due to temperature changes that may occur.
Once you have gotten these measurements jotted down, you can take the time to mark them directly onto the metal siding using a marker or chalk line. These marks are really important and need to be very accurate because they will serve as your guide to a straight level edge when you trim metal siding around a door on your property. Even the slightest mistake can lead to serious misalignment, so check, check and check again.
Setting Up for Success
With the cutting lines marked, you are now going to set about creating a working environment that is as optimal for the process of cutting metal siding as possible. How do you do this?
If the bottom of your siding is close to the ground, you may need to dig a slight trench to allow room for your tools, especially if you are going to be using snips or a power shear. For higher cuts, a sturdy stepladder is something you will absolutely need. Just make sure it is well-positioned and stable before you begin working to avoid any accidents.
Using a pry bar can be especially helpful for loosening the siding panel from the ones above it, making it far more easier to insert your cutting tool without damaging adjacent panels. This step requires a gentle touch to avoid bending or warping the siding. If the siding is particularly tight or difficult to lift, a slight wiggle motion with the pry bar can create the needed space.
Section 4: Cutting and Trimming Process
Once you are sure that have gotten your workspace as fully prepped for the job as possible, and you are all dressed up in your finest safety gear, it is finally time to begin the cutting and trimming process. Exciting, right?
Making the Cut
Take the took of your choice and start cutting into the trim, making very sure that you follow the lines you have marked onto your material. Tin snips are suitable for smaller, more precise cuts, but for longer cuts or thicker metal, then it’s fair to say that shears or a nibbler may be more suitable and get the job done much more efficiently.
It’s really important that you should take your time and work slowly with a steady hand and as much of your focus as possible on maintaining control of the tool you are losing so that you do not veer away from the guide lines you have drawn on.
Your main aim right now is to make smooth, clean cuts that will enable your metal trim to fit tightly around your door frame, so rushing the job will only make for a bad job that you will need to redo, thus taking your longer overall. Keep this in mind always when cutting.
Managing Difficult Areas
Sadly, it is the case that not all cuts will be straightforward for you to make, but when this is the case, it is important not to panic and to take your time even moreso on those areas where the metal is tougher or the angle is a tricky one. Be patient and think about other ways of achieving the cut that will make life easier for you.
For tight spots or detailed work around the corners of the door frame, for example, it is fair to say that hand nibblers can offer the precision needed without causing damage to the surrounding siding.
Should it happen that you do make a mistake, or if you make a cut that is not quite as clean as you would have liked it to be, try not to worry or get annoyed as this will only make matters worse for you, right? And anyways, small imperfections can often be corrected during the trim installation phase or smoothed out with a file. The key is to proceed cautiously, taking the time to evaluate your work and make adjustments as necessary.
Section 5: Installing the Trim
Once you have carefully cut the trim and you are happy with how it looks, it is time to install the trim around your door. This is a great way to improve the appearance (and curb appeal) of your home, but also a great way to protect your home from the elements too.
Choosing the Right Trim
Choosing the right trim metal siding around a door is really important for both the protection and the overall look of the door installation. Ideally, the trim you choose should be made from a material that can withstand the same environmental conditions as the siding itself, ensuring longevity and durability all round. Not only that, but it should, in a perfect world, complement the design and color of the metal siding, providing a seamless and polished finish for your home, that will surely enhance the curb appeal significantly.
When choosing the trim, it’s a smart idea to consider the thickness and flexibility, especially if the door frame has unique angles or curves that require the trim to bend. You see, metal trim pieces are available in various profiles, so it is possible, and desirable, to select one that best suits the aesthetic of your building and the functional needs of the door area.
Securing the Trim
Installing the trim, it is fair to say, requires as much precision and attention to detail as you can muster. You are going to want to start by measuring the length of each side of the door frame and cutting the trim pieces to size, making sure that you allow a slight overlap at the corners to ensure a watertight seal. If it is necessary, you can trim any sharp edges on the cut using a sturdy metal file. It is important to do this because it will not only help to prevent any nasty injuries from occurring, but also make the installation process easier for you to handle too.
Next, you will need to secure the trim to the siding and the structure of the building using screws or nails designed for metal work. These fasteners should be placed at regular intervals along the trim in order to ensure it is firmly attached, preventing it from loosening over time due to wind, temperature changes, or other environmental factors that your home may be subject to.
Caulking is the final step in securing the trim. To do this the right way, you will need to apply a bead of high-quality, exterior-grade caulk around the edges of the trim where it meets the siding and the door frame. This will not just help to seal any gaps, preventing water infiltration and potential damage but also give the installation a finished look.
Once that’s done, all that remains is to smooth the caulk with a caulking tool or your finger to ensure it fills the gap completely and provides a neat, clean line that you can be proud of.
That’s it! Now you know how to trim metal siding around a door, you can do it yourself and it will look great!