What are metal roofing screws?
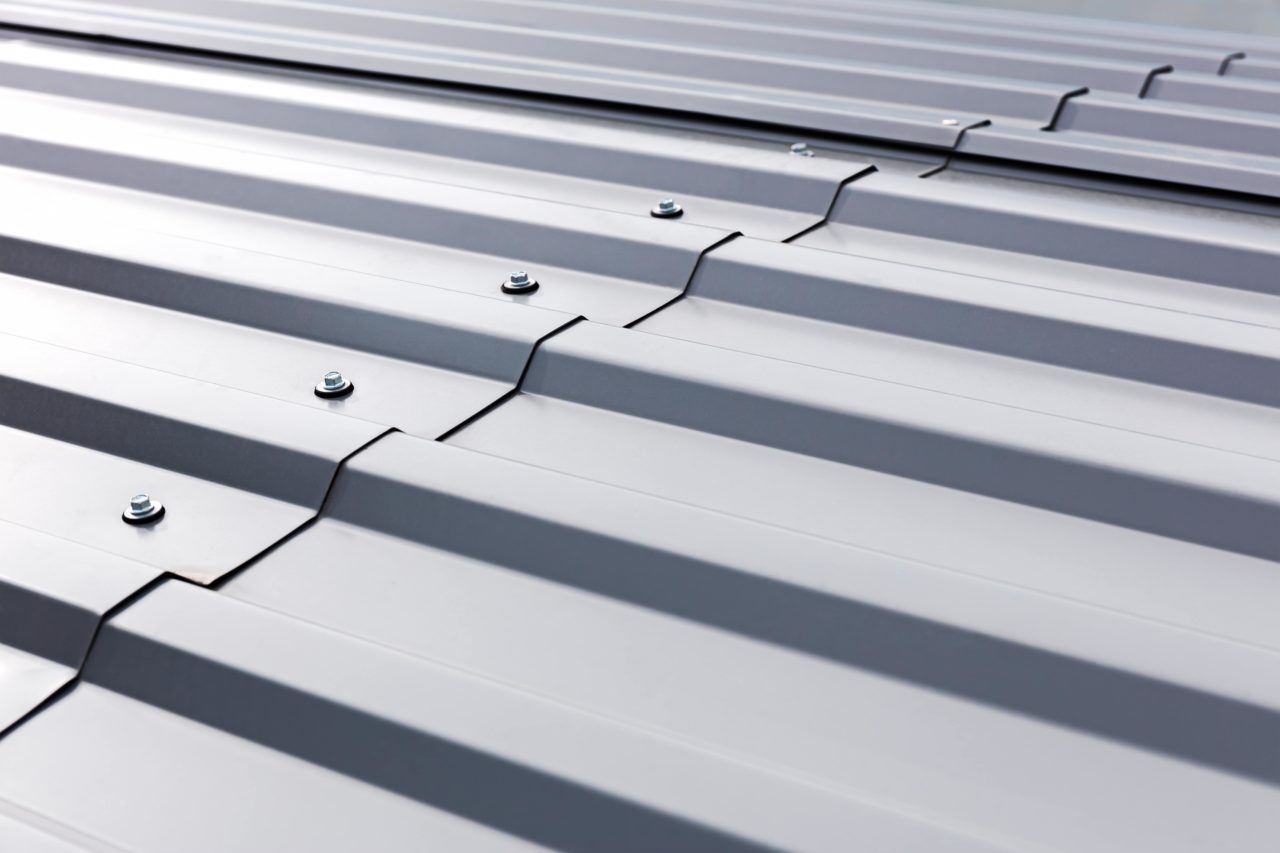
When installing a metal roof you need to use metal roofing screws, complete with metal washers. Metal roofing screws are used to attach metal panels to a structure or building, for instance, wood substrates or steel, these screws come in various sizes, materials, and designs.
To keep your metal roof strong, you’ll need the correct equipment, including the right screws. It’s best to use strong metal screws instead of nails, this is because nails can easily become loose, or bend due to heat exposure.
Your roof screws or fasteners help to stop your metal roof from leaking. The problem is, exposed roofing screws can wear out, (you might notice that the screws have become weathered or discolored). When you’re replacing your metal roofing screws, you should consider these things:
- Use fasteners with a V-neck shaped strong head, (this will prevent breakage).
- Match the color of your roof panel and your roofing screw (to improve appearance).
- Using galvanized screws offers added protection from corrosion.
When should you check your roof?
You should check your roof and roof screws at least once a year. Carefully check the fasteners, and see if the screws have moved. Any screws that are protruding from the panels will need to be refastened. If screws are broken or worn down, these will need to be replaced.
How to replace metal roofing screws?
To replace your metal roofing screws, simply follow these steps:
1. Note your roof pattern
Corrugated panels are usually secured together using screws, positioned every 2 feet. Before you replace your metal roofing screws, you should check the current screw pattern. (When you replace your screws, it’s advisable to follow the same pattern).
2. Check the screw parts
You should examine your new roofing screws, to check they are the appropriate type. You’ll notice that the end of your metal roofing screws closely resembles a drill bit. Your metal roofing screws should be made out of either galvanized steel or aluminum. The screws should have a metal washer, with a grommet or a rubber seal below. (Unless the screws have these parts, do not attempt installation).
3. Attach the drive fastener and socket
Next, you’ll need to attach your electric drill to the socket for your roofing screws. Using magnetized sockets can make the installation process a little easier.
4. Install your metal roofing screws
At this stage, you can start to install your metal roofing screws. Position the screws on the high rides, at the top of the corrugations. If you attempt to install the screws at the lower parts of the structure you may well end up with a leaking roof! Ensure that you put the drill on low power, and drive it into place carefully. Once you’ve eased your way into the metal, you can pick up speed. When you’ve finished drilling the washer should be seated between the rubber seal and the roof.
Tighten with a screw gun
It’s advisable to tighten your screw using a screw gun, attempt to tightly seal the screw, without adding too much pressure. (It’s also possible to tighten your screws using the drill).
General tips for replacing metal roofing screws:
When you’re replacing your screws, make sure that you position your screw gun so that it’s perpendicular to the roof surface. If there’s a magnet in the nut-setter this will help you to prevent wobble. Using top-quality nut setters will make the installation process easier. Don’t forget to tighten up your sealing washers, creating a seal that’s leak-free.
Mistakes to avoid when replacing metal roofing screws
When you’re replacing your metal roofing screws be sure to avoid these common mistakes:
Applying too much pressure:
When you’re tightening your screw, ensure that you do not apply too much pressure. Over tightening the screw can cause compression, and break the washer.
Under tightening:
You’ll also want to ensure that you do not under-tighten the screw. To check this, attempt to spin the washer. If you’re able to spin the washer around, you’ll have to re-tighten the screw.
Sideways installation: Be careful to install your screws straight as opposed to sideways. If your screws are titled you won’t be able to seal the washer correctly. Tilted screws may end up causing your roof to leak.
Making any of these mistakes will cause problems with your roofing structure. If you don’t feel confident replacing your metal roofing screws alone, it’s best to call a professional.
Replacing your metal roofing screws
Following these tips will help you to replace your metal roofing screws, and keep your roofing safe and secure. Always ensure that you follow the appropriate health and safety instructions, when you are using drills and screw guns.

