Installing a drip edge on your metal roof could have many advantages. While hiring a professional company to install your drip edge is the simplest and safest option, it is possible to install a drip edge yourself. In fact, as this step-by-step guide shows, it doesn’t have to be tricky at all. Read on to find out more about metal roofing drip edges and how to install them on your home.
What is a metal roof drip edge?
A drip edge is a section of metal trim that is attached to the edge of your roof. A lot of modern roofs have them installed.
The purpose of a drip edge is to direct water into the gutter. Without a drip edge, rainwater is likely to drip down the side of the building, which can gradually cause damage. Some of the various benefits of a drip edge are explained below.
What are the benefits of a drip edge on a metal roof?
Drip edges are installed on metal roofs for a variety of reasons. Here are just some of the main benefits:
Protects your home against water damage
By redirecting runoff water into the gutter, a drip edge can prevent rainwater dripping down the sides of your home. This can prevent wooden siding from rotting, stucco from cracking or brick from spalling. Redirecting water into a gutter is also important for preventing foundation damage. Without a drip edge to help water flow into the gutter, water is more likely to pool around the base of a home where it can make the soil boggy and encourage subsidence. A drip edge is just one component within a successful guttering system that can prevent this.
Extends the life of your metal roof
Drip edges also encourage water to flow off of your roof rather than pooling at the sides. Snow and ice is also more likely to slide off the edges. This can prevent damage to your metal roof over time. Yes, most modern roofs are suitably weatherproof and built to sustain the weight of snow. However, prolonged exposure to moisture or ice will eventually have a negative impact on even the sturdiest of metal roofs.
Fends off pests wanting to nest below your roof
The final major benefit of installing a drip edge is that it helps block the recess between your roof deck and fascia. This is a common place for all kinds of pests to nest including carpenter bees, termites and even woodpeckers. If you want to prevent infestations of pests that could potentially damage your home, it’s a good idea to install a drip edge along the edge of your roof to block access to pests.
Choosing the right metal roof drip edge
When finding a drip edge to install on your roof, it’s good to look for an option that complements your roof. Consider the type of metal on your roof and try to choose a similar metal that will blend in.
Drip edges are typically designed in a classic L shape, however there are some that have a more flanged shape that is designed to redirect water further away from the building. These flanged options may be necessary if the gutter is further away from the roof. However, in most cases, the classic L shape is all that is necessary.
Before you install your drip edge…
Before installing a drip edge, make sure that you do indeed have a gutter running below the roof edge and that it’s in good condition. Most homes should have some kind of guttering installed.
It’s also important that your metal roof has some level of overhang so that you can install a drip edge. Most metal roofs will protrude a little bit, however some do not, in which case an edge will need to be installed.
A final check to consider is the condition of your roof edge. If the roof is damaged or dirty, you don’t want to install a drip edge as it could end up being insecure or uneven. Make sure to repair the roof first if it is damaged, and clear away any dirt or debris so that the surface is clean.
What tools will you need?
Installing a drip edge on a metal roof will require certain tools. You should make sure that you have these tools before you get started. You will need:
- Measuring tape: This is important for measuring the roof and then measuring how much drip edge flashing you will need.
- Drip edge flashing: Probably the most vital part. Do you research to check that you’ve got the right drip edge to avoid having to buy new drip edge flashing.
- Aviation snips: These are needed to cut the drip edge flashing to size. There are different metal cutting tools that you can use, but you may find these tools to be the easiest to use.
- Roof cement: This is the adhesive you’ll use to stick your flashing onto the roof.
- Roof nails/screws (optional): In some states, roof nails and screws can be used instead of roof cement. Roof cement and roof nails/screws can also be used together.
- Ladder/scaffolding: Work out what is the best way of reaching the roof. Scaffolding can be safer, but takes a lot more work to assemble. When using a ladder, make sure that it is the appropriate height and safe to use.
- Safety equipment: Gloves could be useful for protecting your hands when handling the drip edge flashing, as it may have sharp edges after cutting it to size. You can use other safety equipment like safety goggles or a harness if you wish.
A step-by-step guide to installing a drip edge
Once the surface is ready and you’ve got all the tools you need, you can begin installing the drip edge. The installation process is usually quite straightforward. Check out the following steps to learn for yourself.
Step 1
Start by measuring the edge of your roof with a measuring tape. This will help you determine exactly how much drip edge flashing you need. Drip edge flashing can be bought in different lengths – primarily 2 meters or 4 meters.
Step 2
Cut the drip edge flashing to size using aviation snips or another suitable cutting tool. Be careful not to cut yourself on the metal when doing so. It’s worth noting that you can buy drip edge flashing made to measure, which can be worthwhile if you don’t want to do any cutting.
Step 3
Align the drip edge along the roof edge. It should hang directly into the gutter (if it doesn’t, you may need to buy new drip edge flashing or move the gutter inwards/outwards to help it line up). Make sure that it lines up evenly.
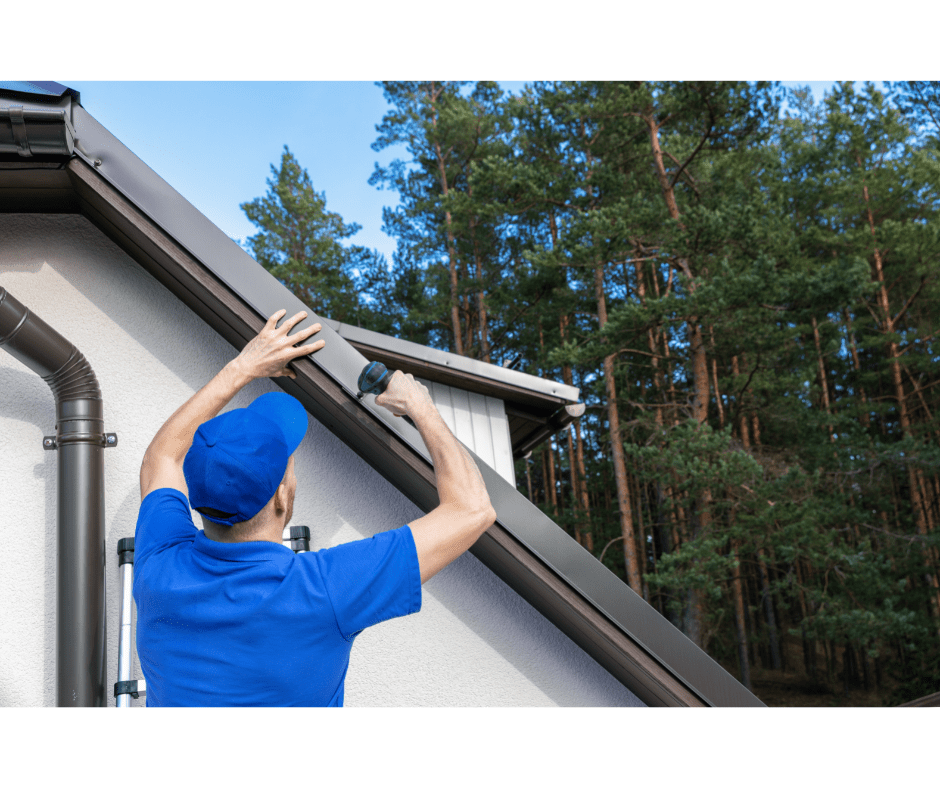
Step 4
Seal the drip edge to the roof edge using roof cement. In many states, it is also possible to secure drip edge flashing using roofing nails or screws. However, in Florida, you must use cement. Of course, it’s possible to use a combination of roofing nails and roofing cement for extra security.
Step 5
Check that the drip edge is properly aligned and secure before moving onto the next section of drip edge. It is much easier to readjust the drip edge when the cement is still wet, than to try to reposition it once it has hardened.
A few useful tips when installing a drip edge…
- Some drip edges will come with installation instructions supplied by the manufacturer. It is important to follow these as different drip edges may have slightly different installation processes.
- Make sure that your drip edge is installed to local building code. If it does not meet building code, it may have to be re-installed or removed entirely. For example, in the case of Florida, using roof cement is a legal requirement.
- Don’t ignore safety. If you’re working at height on a ladder, make sure that someone else is steadying the ladder at the bottom. As already mentioned, gloves are recommended as they could stop you from cutting your hands while handling the drip edge flashing.
Conclusion
Installing drip edge on metal roofing clearly has lots of advantages and is highly recommended if you don’t already have one. You don’t have to be a seasoned DIYer to install a drip edge onto your roof and in most cases the process should be straightforward. Just make sure that you have all the right tools (including the right drip edge flashing) and that you’ve checked the condition of the roof before installation.