One of the most popular choices among homeowners when it comes to roofing is metal roofing, and it’s for a good reason. Metal roofing offers unmatched durability as well as excellent weather resistance and straightforward installation processes, which makes them a practical and easy alternative to the traditional shingles.
Beyond all of their physical advantages, a metal roof contributes to energy efficiency and helps to reduce energy bills at the same time as promoting sustainability and eco friendliness. Whether you choose to hire a professional or you’re tackling a DIY roofing project, with the right tools, techniques, and approach, you’ll be able to achieve the best results.
Below, we’ve put together a detailed guide on how to plan, prepare and install metal roofing for your home.
Why Choose Metal Roofing?
There are so many reasons that metal roofing has gained in popularity over the years, it’s now one of the biggest contenders when it comes to modern home improvements. Below, we’ve listed every reason why you should be choosing metal roofing when your roof needs an upgrade.
It’s durable
The first thing to consider is that metal roofs are known for their remarkable strength. This makes them durable and they have longevity attached to them. Unlike asphalt shingles, which is a traditional roofing material, metal roofing does not require a placement every 15 to 20 years. In fact, they can last up to 70 years or more depending on the material that you choose. They are heavily resistant to cracking, shrinking and erosion, and they can withstand the harshest weather conditions. If you’re living in an area of strong winds, heavy rain and snowstorms, you needn’t worry.
Energy efficiency
Are you trying to live a more sustainable life? One of the standout benefits of metal roofing is its energy efficiency and its capacity to remain eco friendly. They reflect solar radiant heat, which reduces your cooling costs up to 25% during the hot summer months. Many metal roofing systems are also designed with coatings that can enhance their reflective properties and that improves your energy savings over the year.
It’s a responsible choice
Metal roofing is eco friendly so it’s an environmentally responsible choice. Most metal roofs are made from recyclable materials. By the time they get to the end of their life cycle, they can be fully recycled instead of contributing to landfill waste. This aspect alone makes metal roofing an option for homeowners.In excellence that are aiming to reduce their environmental footprint.
Low maintenance
When you install your metal roof, you’ll see very quickly that it requires minimal maintenance when compared with other roofing materials. Metal roofs are less prone to issues such as mildew, growth and Moss, and these are common with asphalt or wooden shingles. With regular inspections and the occasional cleaning, you’ll be able to keep your metal roof in the best possible condition.
Weather resistance
If you’re living in an area with high wind ratings and difficult weather conditions, you’ll find that metal roofs are the best option. They are engineered to endure, which means in extreme weather conditions they will stand the test of time. Some metal roofing systems are rated for hurricane force winds, and they’ll resist impact from hailstones without sustaining any damage.
Compatible with solar panels
If you’re interested in renewable energy, metal roofs are the ideal platform for a solar panel installation. Because they’re so durable, they will be able to support solar panels for decades to come without requiring any replacement in the roof.
Types of Metal Roofing Materials
Choosing the correct metal is crucial in the process for getting your new metal roofing installed. Different types of metal roofing offer distinctive benefits and different characteristics, so it’s important to understand the common options.
There are a range of metal roofs for you to choose from, and some of the most common types include the following.
- Tin. If you’re looking for an affordable and durable choice that is suitable for those who are budget conscious in their projects, then tin is a great option.
- Steel. Galvalume, or galvanized steel, is both durable and corrosion resistant. You’ll also find a range of colour options so you can personalize your roof.
- Aluminum. For a lightweight and corrosion resistant material. Choose aluminum if you’re living in a coastal region. The salty ocean air is not going to degrade your roof overtime.
- Copper. Known for its longevity and aesthetic appeal, copper roofs develop a unique style over time but come at a much higher cost.
- Zinc. This is a premium option in metal roofing. Zinc is self healing and corrosion resistant so it’s perfect for those living in extreme weather conditions.
It’s important that you evaluate the needs of your project from the climate, the budget, and the aesthetic preferences you have before you choose the material.
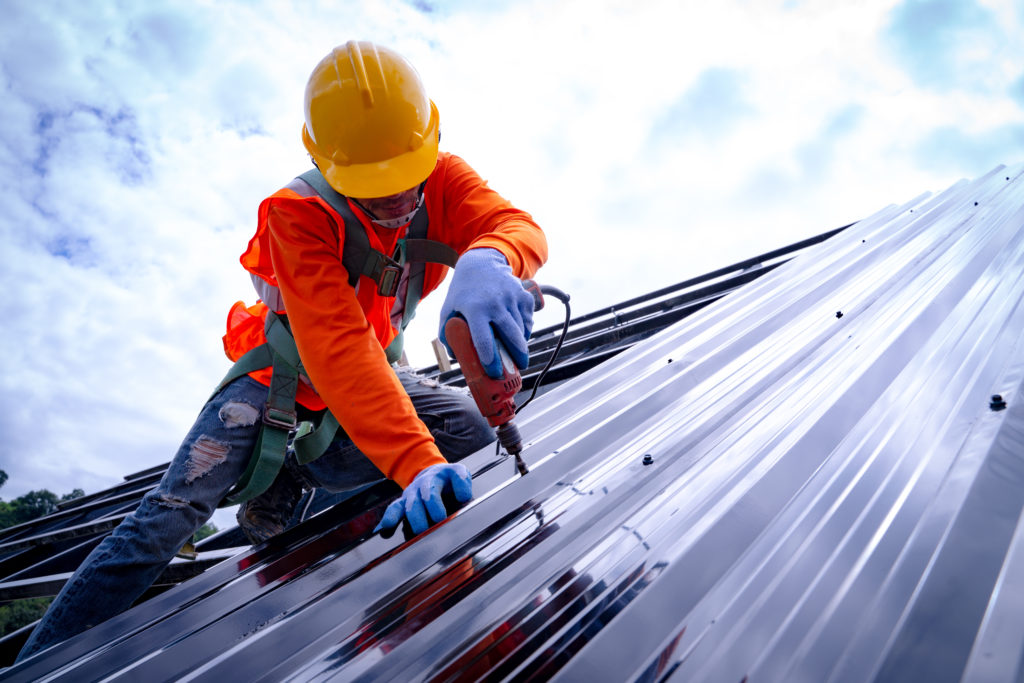
Safety Tips for DIY Installations
Are you planning to install your metal roof yourself? Working on a roof can be dangerous, so prioritize your safety first.
Always use a safety harness and anchor it securely to the roof and make sure that you wear non-slip shoes so that you can reduce your risk of falling. It’s vital that you also avoid working on your new metal roof in wet or windy conditions because you could slip if you’re using tall ladders.
Using stabilizers to ensure that it stays in place while you access the roof is important, and you should always keep tools and materials organized to prevent tripping hazards.
Measure up
Decided on your material? You need to make sure that you measure it correctly. They say cut once, measure twice, and that’s never more appropriate than when you’re looking to install metal roofing onto your roof.
You’ll need to use the right tools to get an accurate roof measurement for the length and width, but get a carpenter’s level up to the rafters in the attic to calculate the rise of the roof. From there you can calculate the total square footage required by multiplying the area by the slope and add 10% onto your order of roofing supplies to account for wastage.
Preparing Your Roof
With proper preparation, you’ll be able to begin your installation with ease. A well prepared surface can ensure the roofing panels are completely installed and secure. This minimizes the risk of any leaks and it will extend the lifespan of your roof as well. Here are some of the things that you can do to get your roof ready for a successful metal roofing installation.
Remove any existing materials
Before you can get a metal roof installed, you have to have a clean and stable base. It should also be dry, and this typically involves removing the existing materials such as shingles or tiles. Starting at the peak of the roof and working downward, you should remove old shingles, tiles, nails and any other debris. You can then dispose of this debris as you go so you don’t have a big clean up job afterwards. Once the old materials are removed, inspect the deck sheathing for signs of damage, rot, or water infiltration. If there are any compromised areas, these should be repaired or replaced so that you can ensure a steady roof base.
Clean the surface
You can’t adhere the roof and the underlayment to the base without a clean surface. You can use a broom or a leaf blower to remove dust, dirt and loose debris and check for any protruding nails or screws. You can then hammer these flat or remove them with the claw edge to create a smoother surface.
Get ahead of any repairs
Expect the roof deck thoroughly. You need to address the structural issues we mentioned earlier. Replacing sections of the roof deck that are rotted or water damaged is important, and you can use plywood or oriented strand board that meets local building codes to do this.
Install an underlayment
To act as a barrier against moisture and an extra layer of protection. You need underlayment. There are different types of underlayment, from synthetic, which is lightweight, durable and resistant to tearing, to felt underlayment, which is the traditional option. You can roll out the underlayment starting from the eaves and work your way up towards the ridge. Make sure that you overlap each row by at least 6 inches so that you get complete coverage before securing it with roofing nails or staples.
Add insulation
Adding insulation helps to improve the energy efficiency of the home, but it also works to reduce noise. Reflective insulation is usually used with metal roofing to reflect any heat and maintain an indoor temperature that is comfortable for everybody. You can also use rigid foam boards and these can be installed over the roof deck before the underlayment so that you get that additional thermal resistance.
Don’t forget drip edges and flashing
Drip edges and flashing can really play a critical role in directing water from the roof. This helps to prevent leaks and backups into your attic. A drip edge helps the channel water into the gutters and protects the edges of the roof deck. Flashing can be applied around chimneys vents and skylights to create that watertight seal.
Ensure proper ventilation
If you want to regulate temperature and prevent any moisture buildup, then ensuring proper ventilation can help. Check for existing vents or install new Ridge vents or soffit vents if necessary. You can then ensure that there is an adequate flow of air from the soffits to the Ridge, and this prevents condensation and prolongs the life of your roof.
Begin Your Installation
Once you’ve got all of your materials in place, then you’re ready to start installing your metal roof. Here are some tips to help you to do it:
- Start by adding in the edging or the metal flashing on the eaves of your new roof. If there are any bends, install your corner pieces first.
- Roof flashing should be installed as well to overhang your guttering by about half an inch either side. It’s from here that you can begin to lay your metal roof in panels, and you should lay them overlapping and square to the roofline.
- Around 7 inches from the bottom of and then around 18 inches spaces along each vertical run is where you should place your first screw.
- You can secure your screws and then add some silicon sealant along the underside of the short edge of each panel.
- Move meticulously, continuing to add and seal a panel at a time until your roof is completely covered.
- If you have any angles to accommodate, you’ll need to use a circular saw to cut your panels to fit, and then you’ll be set to go.
When to Hire a Professional
DIY installation can save you a lot of money, but there are some situations with metal roofing that weren’t the expertise of a professional roofer. This is also in the case of complex roof designs of multiple angles and slopes or limited experience with roofing projects. Also, you may not have the time to do a DIY metal roof yourself or you might be concerned about compliance of building codes. Professional installation ensures that the job is done correctly and often comes with a warranty so you have that added Peace of Mind.
Metal roofing is a durable and cost effective way for homeowners to enjoy their homes for longer. With proper planning, preparation, and installation, you can achieve a roof that stands a test of time.